Polishing Brushed Stainless Steel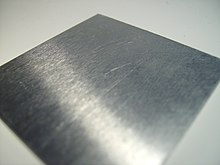
-----------
Introduction and MethodologyBrushed metal is nothing more than dull-polished metal with a satin finish and (usually) unidirectional scratches (and sometimes bidirectional) forming a grain. It is usually made using an “abrasive belt” of two or more levels of abrasiveness. This look retains more shine than non-brushed, non-polished metal, but less shine than fully polished metal. The advantages are a durable finish that doesn’t show dirt, grime, and fingerprints like metal with a ‘chrome-like’ finish. The downsides are that they corrode easily and that certain scratches that go in directions other than the brush can be very visible.
While brushed metal is low maintenance, it isn’t indestructible, and periodically it needs refinishing. While abrasive polishing compounds are generally effective in removing blemishes from a polished finish (and even some satin ones), it does not work on brushed metal. Attempting to remove scratches from a brushed metal bracelet with an abrasive designed for smooth surfaces (most every polishing compound on earth) will ultimately result in not only the scratches being removed, but also the actual brush lines themselves. While this can be beneficial for those who like brushed finishes with a little more radiance, it limits how much and how often you can polish a brushed bracelet in this manner. Luckily, there are other ways that are cheap, fast, and effective, and anyone can do it. I plan to discuss one of the simplest methods.
Before discussing how, I want to reiterate what polishing is, what it does, and the most common mistake I see people make. The most important thing to understand is when you polish metal, you are polishing it by physically removing some of the metal itself. While this is usually no big deal when done by hand, if an aggressive cutting pad is used on a high-speed buffer by someone with a heavy hand, you can physically alter the appearance (and integrity) of the metal you are working with. And that leads to the biggest issue I see. People work abrasives too forcefully and move too quickly. The best polishing results come from a slower, gentle technique that uses the least invasive procedures and ‘cutting’ materials (abrasives).
With this understanding of what brushed metal is, any polishing must follow the original brush lines (grain). If you attempt to polish brushed metal in any other direction than the brushed lines, you are going to have a nightmare that will likely need a more involved treatment to fix. Generally speaking, surface marks are not as deep as the actual brush marks made at the factory, and so you can use this to your advantage. When polishing, you want to only use enough force to remove the ‘foreign’ marks, but no more. The polishing marks you make will then be nowhere near as visible as the factory markings. You must be positive than any marks you make while polishing are as similar to the factory markings (grain), so they blend. Summed up, brushed metal polishing means you are essentially making a series of scratches with the goal of removing/hiding other scratches.
-----------
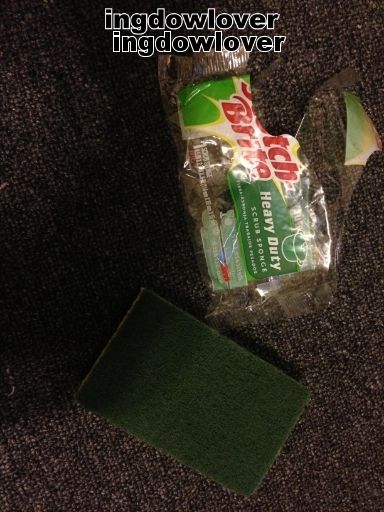
Materials Needed-Medium-aggressive Scour Pads, such as a Scotch-Brite No.86 Heavy Duty Scouring Pad
-Springbar Tool to remove the band (Bergeon is the way to go as the cheap $5 one suck and will break)
-Toothbrush
-Jewelry Cleaner
-Painter’s tape
-Gloves (optional)
-Polish/Protectant such as Cape Cod, MetalGlo or Militec-1 (optional)


-----------
The Actual Procedure (This procedure is listed for refinishing a brushed watchband, but can apply to virtually any brushed metal. It is [intentionally] the least abrasive method and therefore the least invasive method.)
1) Remove the watchband from the watch head, and thoroughly clean it (A failure to clean it can result in a small foreign particle leaving accidental scratches when polishing. )
 2)
2) Connect both halves of the bracelet (In the case of brushed metal, you SHOULD polish the bracelet halves as one, as you want the brush lines to match.)
3) If you have a two-tone finish, tape polished and plated finishes off with a thick masking or painter’s tape (Failure to do so can result in polished finishes getting seriously scratched up and actual plating removed outright.)
 4)
4) Set the bracelet on a flat, level surface, and turn it so the inner part of it is facing up.
a. If the bracelet’s inside is finished in the same way as the outside, then I highly advise you do a ‘practice run’ by doing steps 5, 6, and 7 on the back side of the bracelet to be sure you can match your brush marks and the factory’s to a level you are satisfied with.
b. If the inner part of the bracelet doesn’t have the same finish as the outside, I would suggest buying a watch to try polishing on before doing this to a Pilot or Pro 2…you can buy a new Citizen or Seiko with a brushed finish for less than a quarter of the price of the band or a Breitling service, or one of the bargain brands for under 20 bucks on eBay! Subsequently, it only makes sense to attempt polishing and refinishing in an inconspicuous area or in a series of practice runs so you can find the right amount of force vs. abrasive prior to working a high end finish.
 5)
5) Using a (cut piece of) Scotch-Brite No.86 Heavy Duty Scouring Pad (or something similar), GENTLY run the pad over the grain of the band in the same direction of the grain.
a. Use a smaller cut square because this makes working it easier.
b. When I say lightly, I mean like light as in you don’t think there is a chance it could do a thing. This level of ‘light’ is often enough to remove most marks in itself.
c. When doing this, do NOT allow the pad to shift when moving it over the band. The movement you makes need to follow both the vertical and horizontal axis of the lines, and a failure to do so will result in crooked marks.
6) Continue to work lightly and take your time. (Favor spending more time working the cutting pad lightly rather than a shorter period of time using more force.)
a. Periodically, gently wipe down the bracelet and change pieces, to avoid metal shavings impacting the final finish. (The use of a honing oil, or mineral oil, can also help prevent this and speed the process. By working lightly, the factory marks will remain more noticeable than any that you make will.)
7) After a few minutes of working the pad, most blemishes should be gone, or at least far less than they were originally. Once you work the blemishes out (or reduced to where you are happy), it isn’t a bad idea to gently run something like a Cape Cod, MetalGlo, Fritz, etc. over the band. The reason for this is not to polish but because these agents have a protectant in them that helps prevent corrosion, and brushed metal is very prone to this. (If you are hardcore, you may want to use Militec-1 and heat the protectant into the metal to form a bond, but that is a little excessive IMO.)
 8)
8) Enjoy the money you saved over sending it off to someone!
-----------
Conclusions and Things-to-NoteThe above is a minimalist perspective. For deeper marks, there are other, more aggressive, options, which I would be more than happy to discuss if people seem to like the above review and find it helpful.
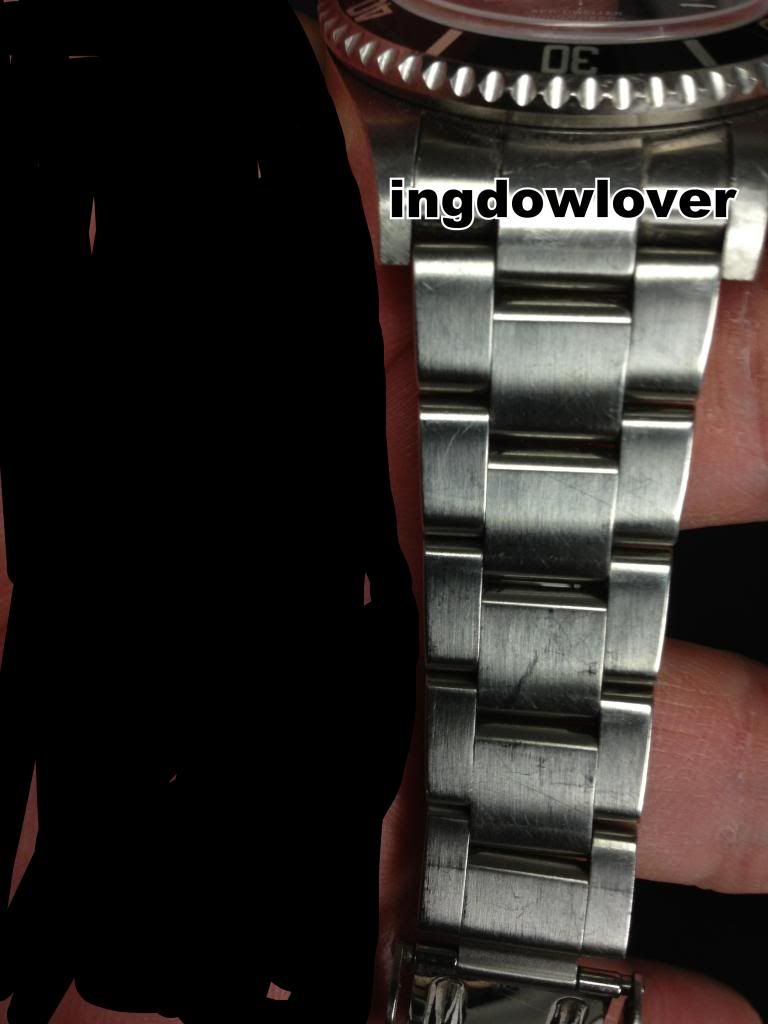
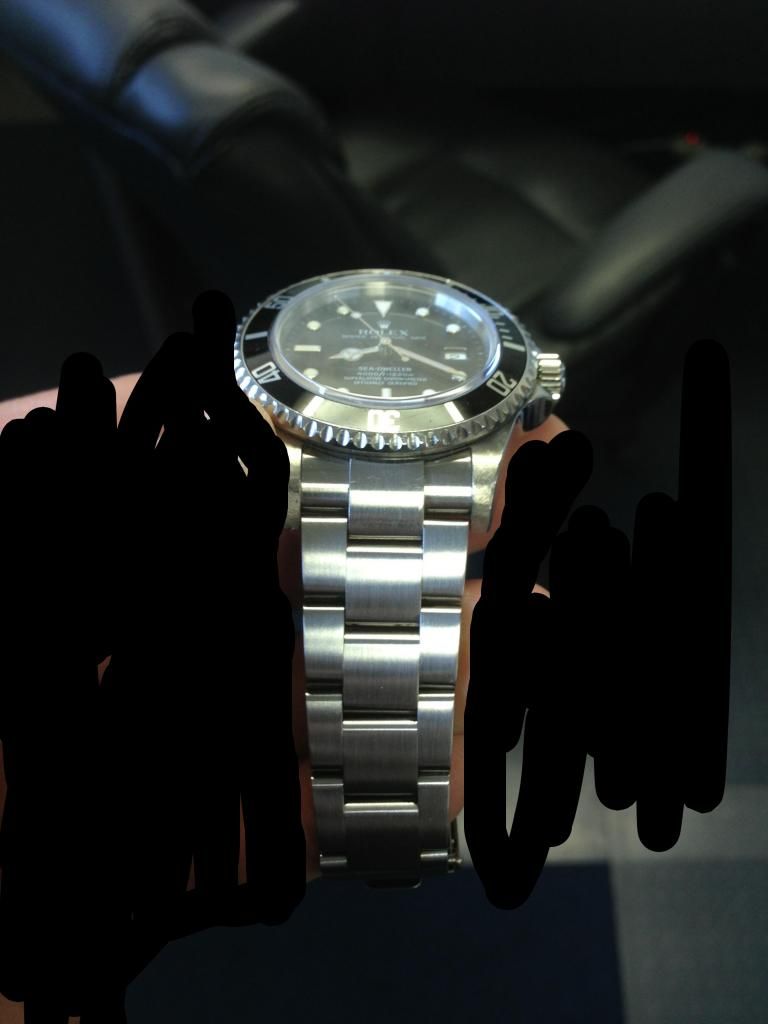
*Also note that I am no photographer and I realize the pics are horrible. I have attached before/after pics but they don't do the best job in show the difference this procedure makes. If you have before/after pics, feel free to replace mine. You will also notice the ‘after’ still shows some marks, mind you, significantly lighter ones. The reason for this is because I have not worn this watch in 3 years and so I only spent about 15 minutes polishing it solely for the sake of illustrative purposes. If you spent the time, a bracelet like this can appear new.
I hope you like this review and I apologize for the length but I felt the explanations were warranted given the context. I think I have covered all the bases but my background with working metals is from the automotive detailing industry, so if I missed something feel free to point it out! And of course all feedback, positive or negative, is appreciated! ☺
-----------
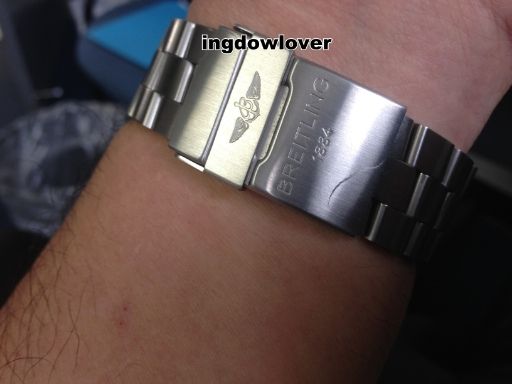
BEFORE


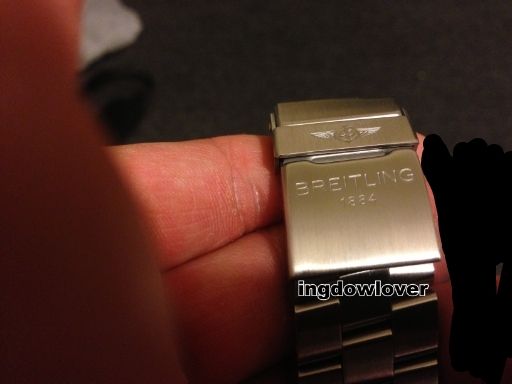
 AFTER
AFTER